


Posted on 08/09/2023
Top 6 DIY Cleaning Solutions and Tips
When it comes to keeping our homes clean and tidy, many of us resort to store-bought cleaning products. But did you know that some of the best DIY cleaning solutions are made with ingredients you might already have in your pantry?
Not only are these homemade cleaning solutions effective, but they are also eco-friendly and often cheaper than their commercial counterparts. In this article, we’ll explore the top DIY cleaning solutions and tips that can help you maintain a clean and hygienic home.
1. The Cleaning Solution of Vinegar and Baking Soda
One of the most celebrated cleaning solutions is the combination of vinegar and baking soda. This dynamic duo can tackle anything from clogged drains to grimy bathroom tiles.
Materials Needed: White vinegar, baking soda, water, spray bottle, scrubbing brush.
Steps:
- Prepare the Surface: Clear the surface of any loose dirt or dust to ensure the solution can work directly on the stains.
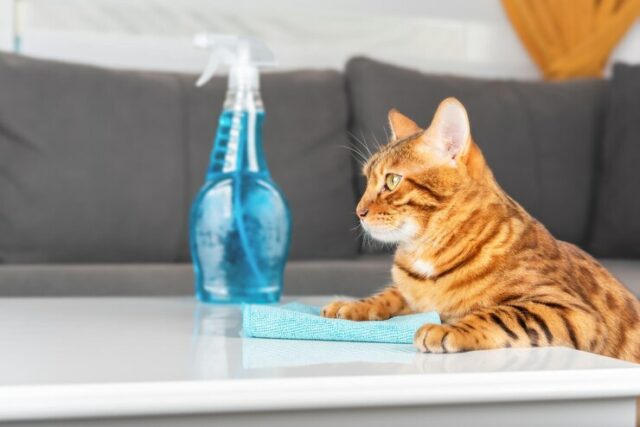
- Mix the Solution: Combine equal parts of water and white vinegar in a spray bottle. This mixture serves as a potent cleaning agent capable of dissolving grime and cutting through grease.
- Application: Spray the solution generously on the surface, ensuring all stained areas are well-covered. Let it sit for about 10-15 minutes to allow the vinegar to penetrate and loosen the grime.
- Tackle Stubborn Stains: For tougher stains, prepare a paste by mixing 3 parts baking soda with 1 part water. Apply this paste to the stain, letting it sit for 15-20 minutes. The baking soda acts as a mild abrasive, helping to lift stubborn stains.
- Scrubbing: Use a scrubbing brush to scrub the treated areas in circular motions, exerting a bit of pressure to remove the grime effectively.
- Wiping: After scrubbing, use a microfibre cloth to wipe off the residue, revealing a cleaner surface.
- Rinsing: To finish, rinse the surface with clean water to remove any remaining solution and dirt, leaving a sparkling clean surface.
For those wanting to declutter home spaces effectively, using this mixture can also aid in cleaning surfaces as you organize.
Tips:
- The acidic nature of vinegar helps in removing hard water stains and mineral deposits.
- Always do a spot test to avoid damaging sensitive surfaces.
Best for:
- Bathrooms: Tackling tough grime in showers, tubs, and sinks. It’s also effective for cleaning tiles and grout, as well as unclogging the toilet.
- Kitchens: Countertops, stovetops, ovens, and sinks to break down grease and food particles.
- General Home: Wall stains, baseboards, and ceramic or tile floors.
2. Citrus Magic
Citrus fruits, especially lemons, are a natural disinfectant and leave a pleasant fragrance behind.
Materials Needed: Fresh lemons, water, spray bottle, sponge.
Steps:
- Lemon Juice Preparation: Squeeze 2-3 fresh lemons to extract the juice. Lemons are not only a natural deodorizer but their acidic property helps to break down grease and grime.
- Mixing the Solution: Combine the fresh lemon juice with 2 cups of water in a spray bottle. This mixture is a natural alternative to chemical cleaners, leaving a fresh citrus scent behind.
- Application: Spray the lemon solution onto greasy surfaces or appliances, making sure to cover all greasy areas.
- Waiting Period: Allow the solution to sit for 10-15 minutes. The citric acid in the lemon juice works to break down grease and lift stains during this time.
- Scrubbing: Using a sponge, scrub the treated areas in circular motions to remove the loosened grime effectively.
- Rinsing and Drying: Rinse the surface with clean water and dry it with a clean cloth to prevent streaks and watermarks.
Tips:
- Use lemon peels to freshen up the garbage disposal.
- Lemon juice can also be used to remove mild rust stains.
Best for:
- Kitchens: The citrus scent helps neutralize kitchen odours. So, it’s effective for cleaning your kitchen, including stovetops, countertops, appliances like microwave interiors and exteriors, and sinks.
- Bathrooms: Sinks and faucets for a fresh scent and shine.
3. Soothing Essential Oils
Carpets can trap odours, making your home smell less than fresh. For a potent DIY carpet cleaning solution, combine water, vinegar, and a few drops of your favourite essential oil (like lavender or eucalyptus). This mixture not only cleans but also leaves a pleasant scent in its wake. In the context of odours, managing them is vital.
Materials Needed: Water, white vinegar, essential oil (e.g., lavender or eucalyptus), spray bottle, vacuum cleaner.
Steps:
- Choose Your Essential Oil: Depending on the ambience you want to create, select an essential oil. Lavender has calming properties, while eucalyptus offers a fresh and invigorating scent.
- Prepare the Solution: Mix 2 cups of water with 1 cup of white vinegar in a spray bottle. Add 20-25 drops of your chosen essential oil and shake well.
- Application: Lightly mist the solution over your carpet. Ensure it’s a light application to prevent over-saturation, which could damage the carpet fibres.
- Rest and Absorb: Allow the solution to sit on the carpet for about 20 minutes. This gives the vinegar time to neutralize odours, and the essential oil leaves a pleasant aroma, ensuring enhanced odour control.
- Vacuum: After the waiting period, vacuum over the treated carpet areas. This lifts any settled dirt or particles and revives the carpet’s fibers.
Tips:
- A biannual deep clean with this solution can prolong your carpet’s lifespan and appearance.
- Always do a patch test in a hidden corner to ensure that the solution doesn’t discolour or damage your carpet.
Best for:
- Living Rooms: Regular and area carpets that receive high foot traffic.
- Bedrooms: Bedroom carpets and area rugs.
- Hallways: Carpeted corridors that often get neglected but gather dust and allergens.
4. Soap and Warm Water
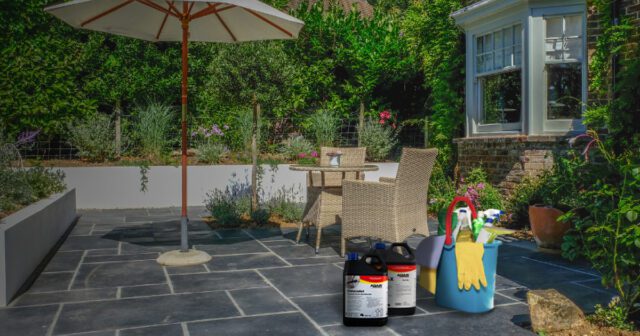
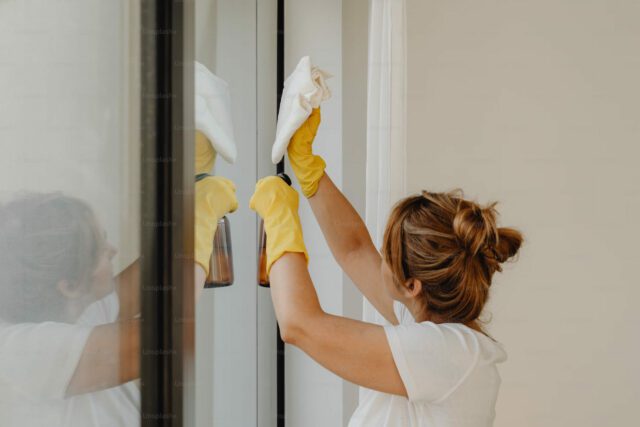
Sometimes, the basics are all you need. A mixture of dish soap and warm water can be used as an effective do-it-yourself cleaning solution for cleaning patio furniture, garden tools, and even the exterior of windows.
Materials Needed: Dish soap, warm water, bucket, scrubbing brush or sponge, hose.
Steps:
- Preparation: Clear your outdoor area of any loose debris or items that might obstruct your cleaning.
- Mix the Solution: Fill a large bucket with warm water and add a generous squirt of dish soap. Stir until soapy.
- Scrubbing: Soak your scrubbing brush or sponge in the soapy mixture and scrub the outdoor surfaces in a circular motion.
- Rinsing: Use a garden hose to rinse off the soapy solution, ensuring you remove all suds to prevent any residue or buildup.
- Drying: Allow the surfaces to air dry or wipe them down with a clean cloth if needed.
Tips:
- For mould and mildew-prone areas, consider adding a cup of white vinegar to the soapy mixture. The vinegar acts as a natural deterrent.
Best for:
- Exterior: This solution is ideal for outdoor cleaning, including patio furniture, deck areas, garden statues, or any other outdoor surfaces.
- Garage: Cleaning tools, workbenches, and general garage floors.
5. Cornstarch
For streak-free windows, mix cornstarch with water and a bit of vinegar. Apply using a soft cloth or sponge and wipe away with a clean microfibre cloth. The results are remarkable.
Materials Needed: Cornstarch, water, vinegar, bucket, soft cloth or sponge, squeegee
Steps:
- Cornstarch Mixture: In a bucket, dissolve 2 tablespoons of cornstarch in 1 quart of warm water. Cornstarch acts as a gentle abrasive agent, ensuring a streak-free shine.
- Add Vinegar: Mix in a half cup of white vinegar. This cuts through grime and ensures a clear finish.
- Cleaning Process: Soak a soft cloth or sponge in the mixture and wring out excess liquid. Wipe the windows in circular motions.
- Squeegeeing: Use a squeegee, starting at the top and dragging it downwards in a straight line. This removes excess liquid and ensures a clear, streak-free window.
- Detailing: If necessary, use a microfibre cloth to remove any remaining spots or to polish the window’s edges.
Tips:
- Cloudy days are ideal for window cleaning as the sun can dry the solution too quickly, leading to streaks.
Best for:
- General Home: Windows in every room, glass doors, and even car windows.
- Bathrooms: Shower doors and mirrors for a streak-free shine.
6. Hydrogen Peroxide
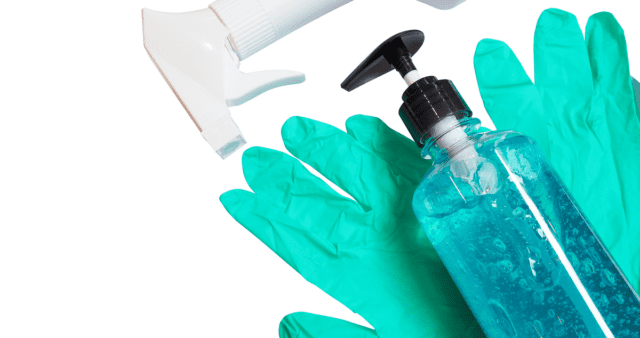
Hydrogen peroxide is an effective disinfectant and can be used to sanitize surfaces, especially in the bathroom and kitchen. It’s one of the must-have home hygiene essentials. But remember, it’s always a good idea to spot-test any DIY solution on a small area first to ensure it doesn’t damage or discolour the surface.
Materials Needed: Hydrogen peroxide (3% concentration), spray bottle, gloves, cloth.
Steps:
- Safety First: Wear gloves as hydrogen peroxide can be mildly irritating to the skin.
- Transfer to Spray Bottle: Pour the 3% hydrogen peroxide into a spray bottle. Ensure that the bottle is opaque since hydrogen peroxide breaks down in the presence of light.
- Spray and Wait: Mist the solution onto surfaces you intend to disinfect, ensuring even coverage. Allow it to work for at least 10 minutes. The solution acts as a disinfectant, killing germs and bacteria.
- Wiping Off: Using a damp cloth, wipe the surfaces clean.
Tips:
- It’s an excellent solution for cutting boards and kitchen counters to ensure a germ-free environment.
Best for:
- Kitchens: Cutting boards, countertops, and appliances for deep disinfection.
- Bathrooms: Sink handles, toilet seats, and other frequently touched surfaces to ensure maximum hygiene.
- Living Rooms & Bedrooms: Disinfecting door knobs, light switches, and remote controls
Crafting your own do-it-yourself cleaning solutions is not just about saving money. It’s about understanding what goes into the products you use around your home and ensuring they’re safe for your family and the environment.
By integrating these DIY cleaning solutions and tips into your routine, you’re taking a step towards a cleaner, greener, and more self-sufficient lifestyle. After thoroughly cleaning your home, always remember to choose garbage bags wisely, ensuring each type of trash is properly segregated and placed in its designated location.